Discord Tutorial 🎮
Table of Contents
This “tl;dr (too long, didn’t read)” tutorial goes over only the basics: fundamental controls; channel directory; and useful built-in or third-party-enabled functions. This guide is regularly updated based on user input and is designed to be read, referenced, and/or Ctrl+F’d as needed. For more in-depth documentation, check out the official Beginner’s Guide to Discord.
If you’ve never used Discord, don’t be intimidated! Discord’s controls are a lot like text messaging or social media. You can get by with these 3 main functions: click #text channels on the left to enter them, type in the message box, and hit enter to send; click 🔊 Sync Sessions on the left 1x to join voice-only and 2x to join voice-and-video; and click 🧵 and 📌 at the top of #text channels for a directory of threads (click a thread name to join and send messages in the panel that appears) and pinned posts.
Getting Started
First, you’ll need to install the Discord app and create an account.
- Download Discord: Discord can be accessed via browser, but the desktop client is recommended for the best experience. Download it here: Desktop Installation Guide. You can also download the Discord app through Google Play or Apple Store. Here’s the full list of Discord’s OS/System Requirements
- Create an Account: If you don’t have a Discord account, the first step is to create one. The Discord desktop client will prompt you to do so the first time it’s opened, or visit Discord’s registration page directly. Enter a valid email that you can access and that isn’t associated with another Discord account and select a username that’s case-insensitive/forced lowercase and between 2-32 characters (using a-z, 0-9, and . or _)
This username is not the same as your display name, the prominent name shown when you interact in a server or in direct messages (DMs), which can be changed later.
Once you’ve completed the registration and verification process, use the Discord server invitation link on Classes to add yourself to the WS 297V server. Refer to Discord’s Getting Started guide for additional help if needed.
Code of Conduct
Our priority is the privacy, security, and safety of the server. By joining, you are agreeing to these rules:
- Be civil, respectful, and considerate towards other members. No hate speech or discriminatory language or behavior of any kind will be tolerated
- Server invitations are for this class only and are set to expire for the safety of our community. Never share an invite publicly
- Keep everything said here confidential. Don’t screenshot or share content without express permission. Anyone who does this will be banned and the content shared will be reported
- If you’re made uncomfortable, bring your concerns to the facilitators and moderators.
- Read member profiles before replying or DMing them, to make sure you’re using their preferred pronouns and accommodating any listed access needs
- Don’t spam channels or members’ direct messages
- Don’t post age-restricted or obscene content (this includes text, images, or links featuring nudity, sex, hard violence, or anything else that’s graphically disturbing).
- Harassment, trolling, and malicious shitposting will not be tolerated
- Communicate accessibly! Create threads to organize conversations as needed; avoid terms rooted in ableism and discrimination (refer to Ableist Terms and Words to Avoid for guidance); use alt-text and tone indicators (for guidance, check out Alt Text as Poetry and Tone Indicators); and enable Live Captioning on your OS/browser for captions in voice channels (Discord doesn’t yet have built-in captioning)
- Call in people when they’ve crossed a line or are talking over someone (or @ or DM me) so we can have dialogue around uncomfortable moments
- Respond to me if I DM you with a concern. If you don’t respond for a few days or if a safety concern doesn’t get addressed, I might notify your advisor to make sure you’re okay, or issue a warning or timeout until the situation can be resolved
Customizing Your Profile
Your profile picture (PFP), username, and user settings (cogwheel icon ⚙️) are visible at the bottom left of the screen. Open the Edit Profile screen to change your display name and PFP for this server. You can do this by:
- Clicking your username in the lower right, then Edit Profile in the opened pop-up, or
- Clicking the ⚙️ icon next to your username to open the User Settings screen, then Profiles in the opened menu
Any changes you make to your Main Profile are visible on all servers you belong to; the Per-Server Profiles menu allows you to use different display names and pronouns on different servers.
How to customize your Discord main profile and server profile.
Main Profile
Under the Main Profile menu, enter your preferred display name and pronouns. Click Change Avatar and upload the image — a photograph, image, or icon (you can use Picrew to create non-AI-generated avatars for personal, noncommercial use) — you’d like to use.
Below that, you have the option of editing the banner color on your profile and entering text into the About Me section. If you’re stuck on what to say, here are two placeholders you can copy-paste and modify:
✎┊ (Name)
╭────────────╯
│•(Reading)
│•(Watching)
│•(Playing)
│•(Teaching)
╰─────────── · · · · ✦
✎┊ (Name)
⬛🟪🟪🟪⬛⬛🟩⬛⬛
⬛⬛🟪⬛⬛⬛🟩🟩⬛
⬛⬛⬛⬛🟨🟧🟧🟩🟦
⬛⬛🟨🟨🟨🟧🟧🟥🟦
⬛⬛🟩🟩🟪⬛🟥🟥🟦
⬛🟩🟩🟪🟪🟪🟥⬛🟦
Finally, you can add or change your status by hovering over the thought bubble next to your avatar and clicking ✏️; choose an emoji, enter text, and select when you want the status to be cleared in the dropdown menu. (You can add or change your online status by exiting this menu, clicking your username, then hovering over your status and selecting 🟢 Online, 🌘 Idle, ⛔ Do Not Disturb, or 🟣 Invisible.)
Per-Server Profile
To change your per-server nickname, click the Edit Per-Server Profile tab, choose the WS297V Classroom server from the dropdown menu (if your account is associated with other servers), and change your nickname and pronouns for our server.
User Preferences
Click the ⚙️ at the bottom-left to access a list of customizable settings.
User Settings
Under User Settings, you may want to do the following:

How to customize appearance and accessibility preferences.
- My Account: Enable Multi-Factor Authentication by configuring an Authenticator App (e.g., Duo or Aegis, available in Apple and Google Play Stores); adding a phone number for SMS Backup Authentication; and/or registering a security key
- Content & Social: Toggle Direct Message Spam to Filter All and adjust Social Permissions and Friend Request settings as you prefer. (Make sure I can DM you even if we’re not friends, though, or request to become friends for now!)
- Data and Privacy: Adjust these settings as you prefer
App and Activity Settings
Under App Settings and Activity Settings (below the Billing section), you may want to do the following:
- Appearance: Change the app’s color mode; user interface density (the spacing between server, channel, and member lists — Spacious recommended); and Message Spacing. (adjust chat message display, spacing between message groups, font and interface scaling)
- Accessibility: Adjust color saturation; link underlining; how role colors should be displayed; enable/disable reduced motion (including animated GIF preferences); and adjust sticker animation preferences
- Voice and Video: Adjust settings as needed based on your hardware and preferences
- Chat: Change how images, videos, and links are displayed; enable/disable embeds and link previews; enable image descriptions for screenreaders; make sure that emoji reactions are shown on messages; preview emoji, mentions, and markdown syntax while typing; change how spoiler content is shown; and adjust threads view
- Notifications: Enable/disable desktop notifications, unread message badge, and/or taskbar flashing; enable/disable notifications for particular message reactions; message sounds; and change your email preferences
- System Settings: Enable/disable Discord opening on computer startup and modify the behavior of the Close button
- Activity Settings: Turn on/off Discord sharing any detected game/apps with others
Channel Notifications
For precise control over each channel’s notifications, regardless of server-wide settings, you may want to do the following:
- Notification Override: Right-click the channel you want to customize and choose your notification preferences: All (for every message); Mentions (only when you’re @); Nothing (disable all notifications); Mute (silence everything, including @mentions)
- Channel/Thread/DM Muting: To mute channels and threads — i.e., silence notifications for them — right-click the name of the channel or thread, hover over Mute, then select the appropriate option. To mute DMs with a specific user, open your DM history by clicking the upper-left Discord icon, right-click the user’s display name, hover over Mute, then select the appropriate option
What’s Where
Now that you’ve retooled your profile and user preferences, it’s time to familiarize yourself with our server!
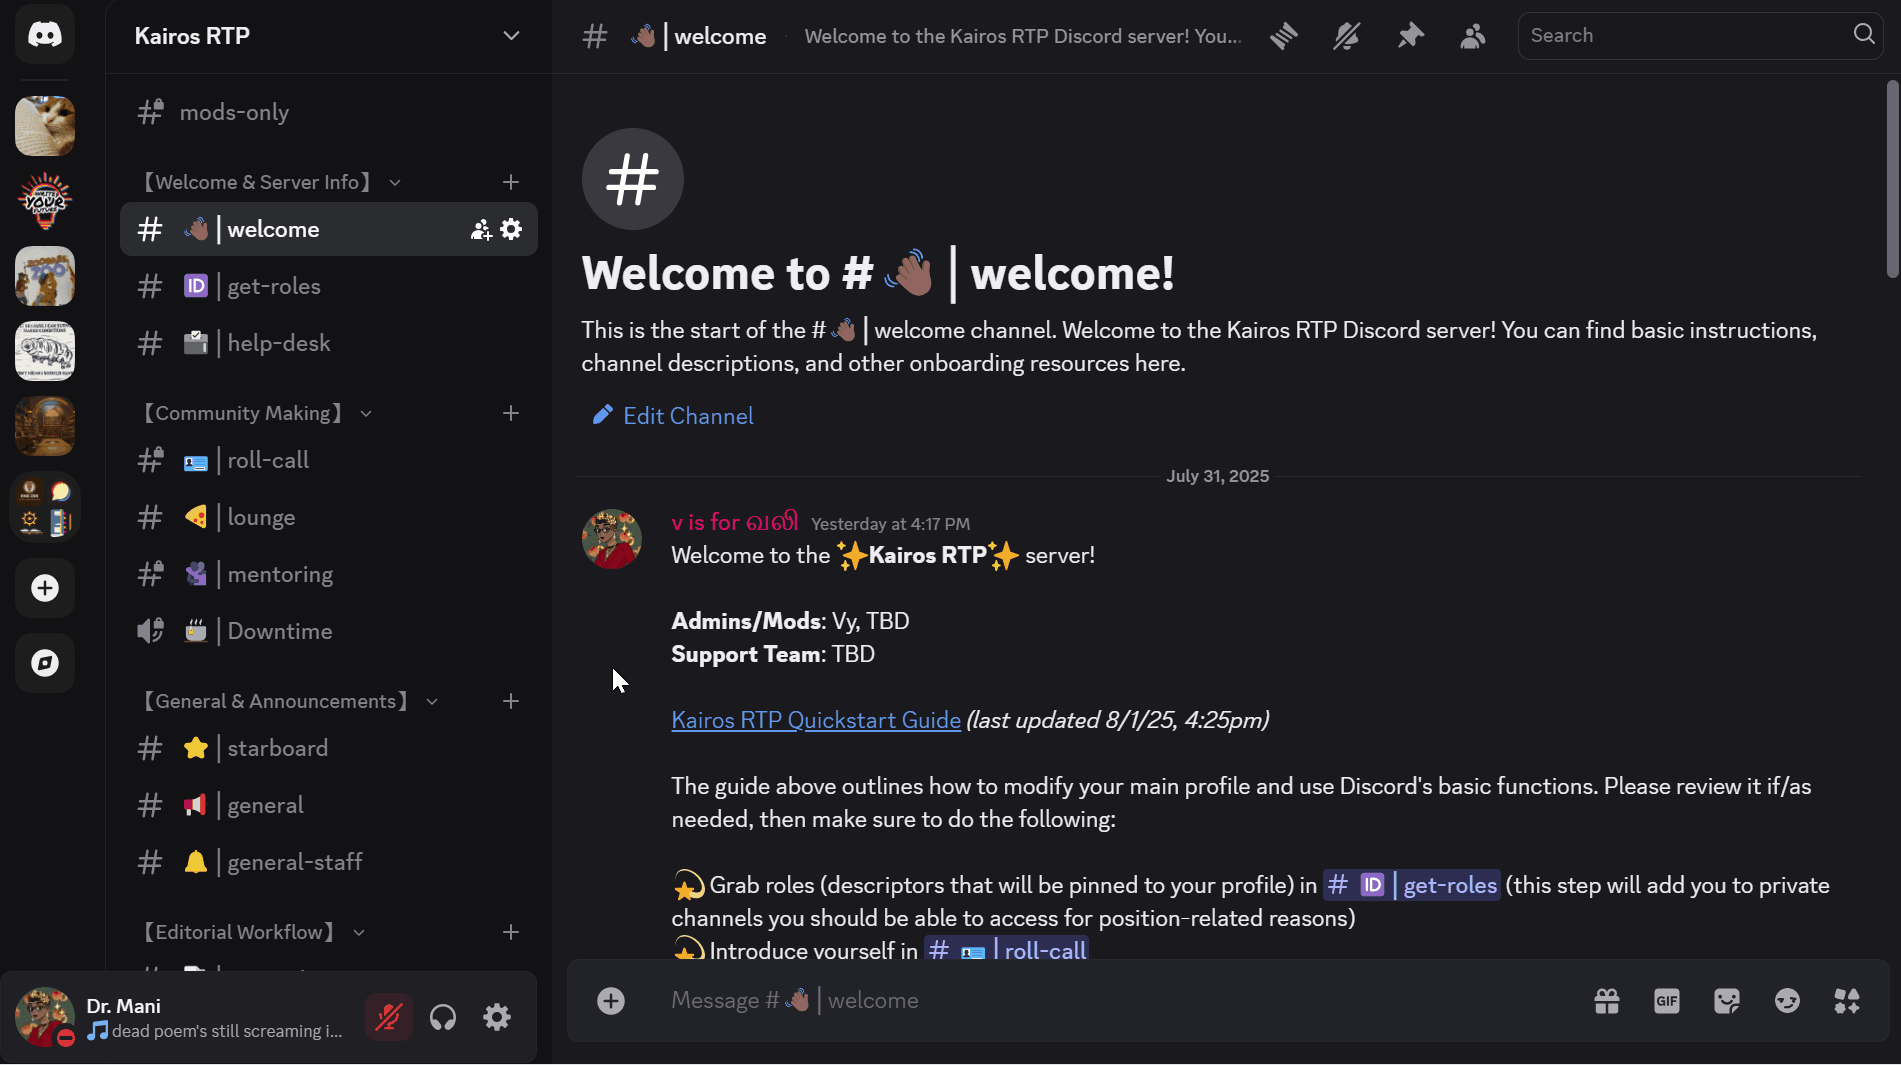
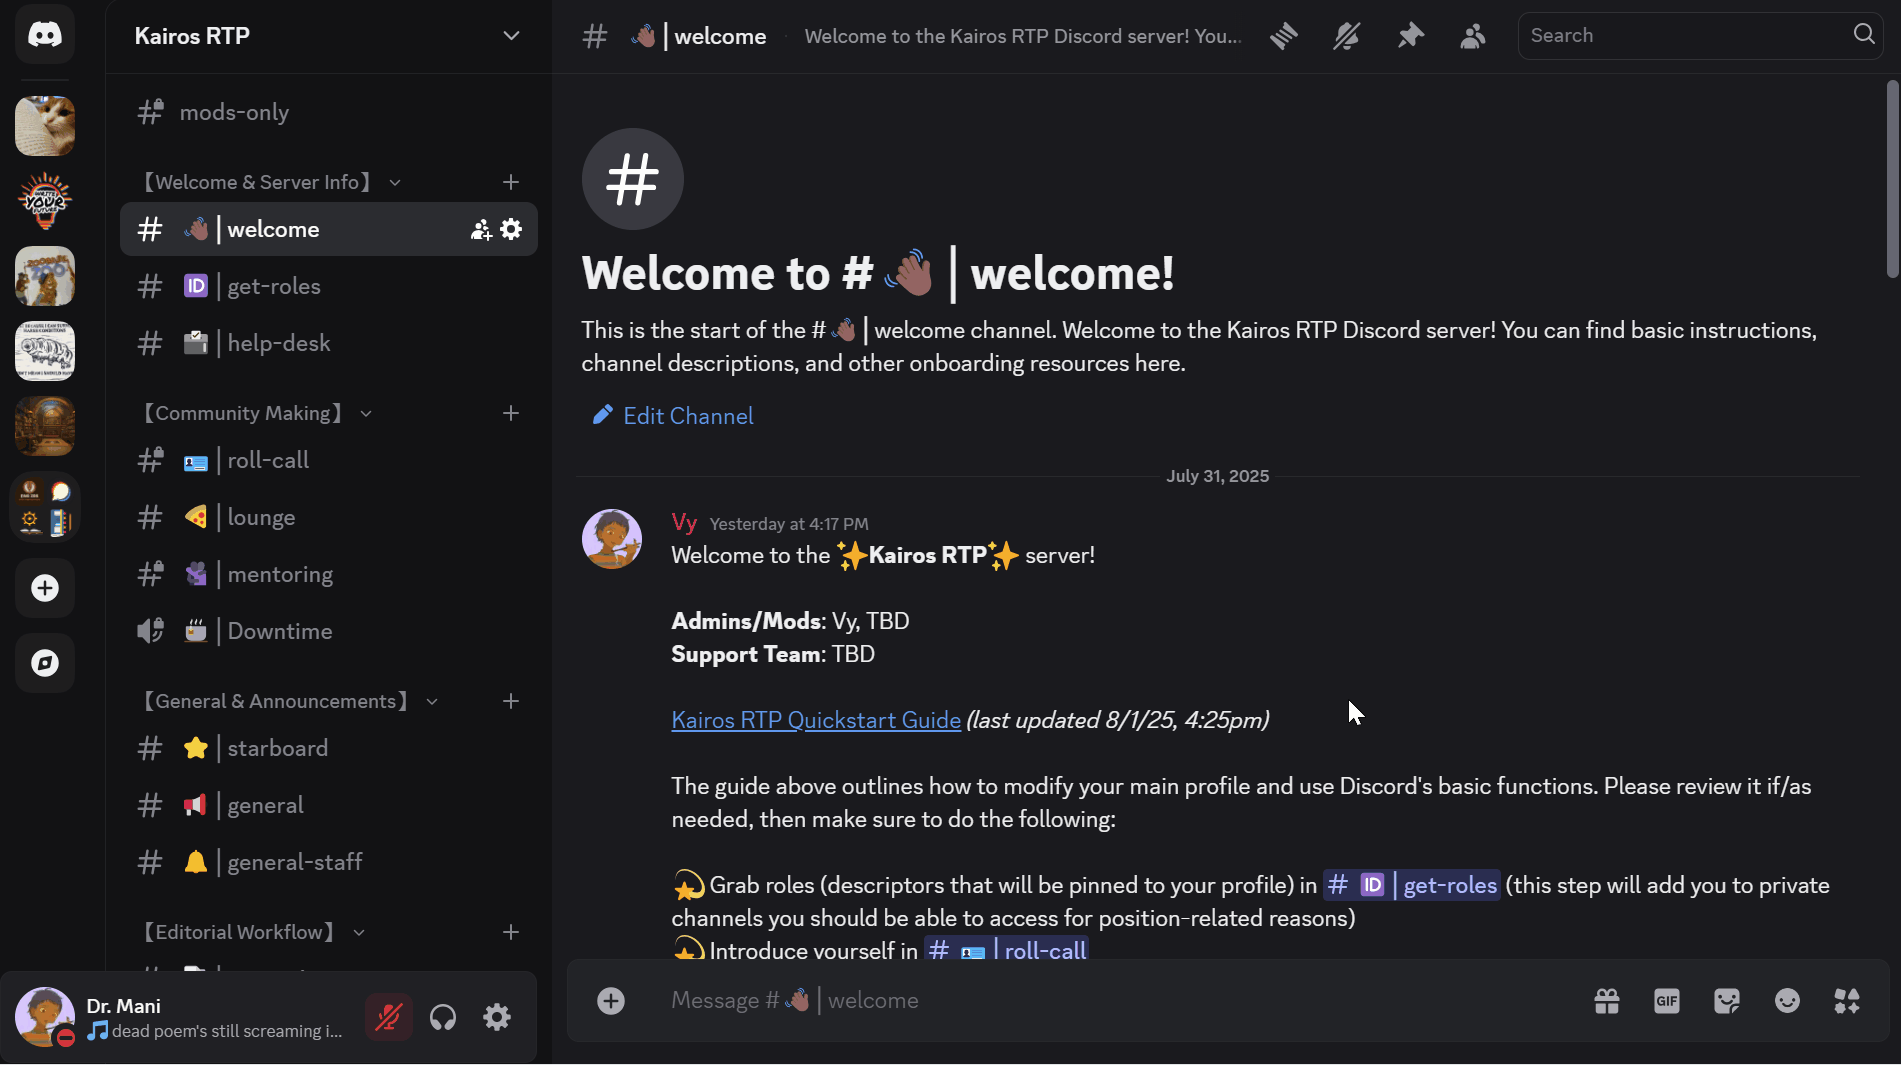
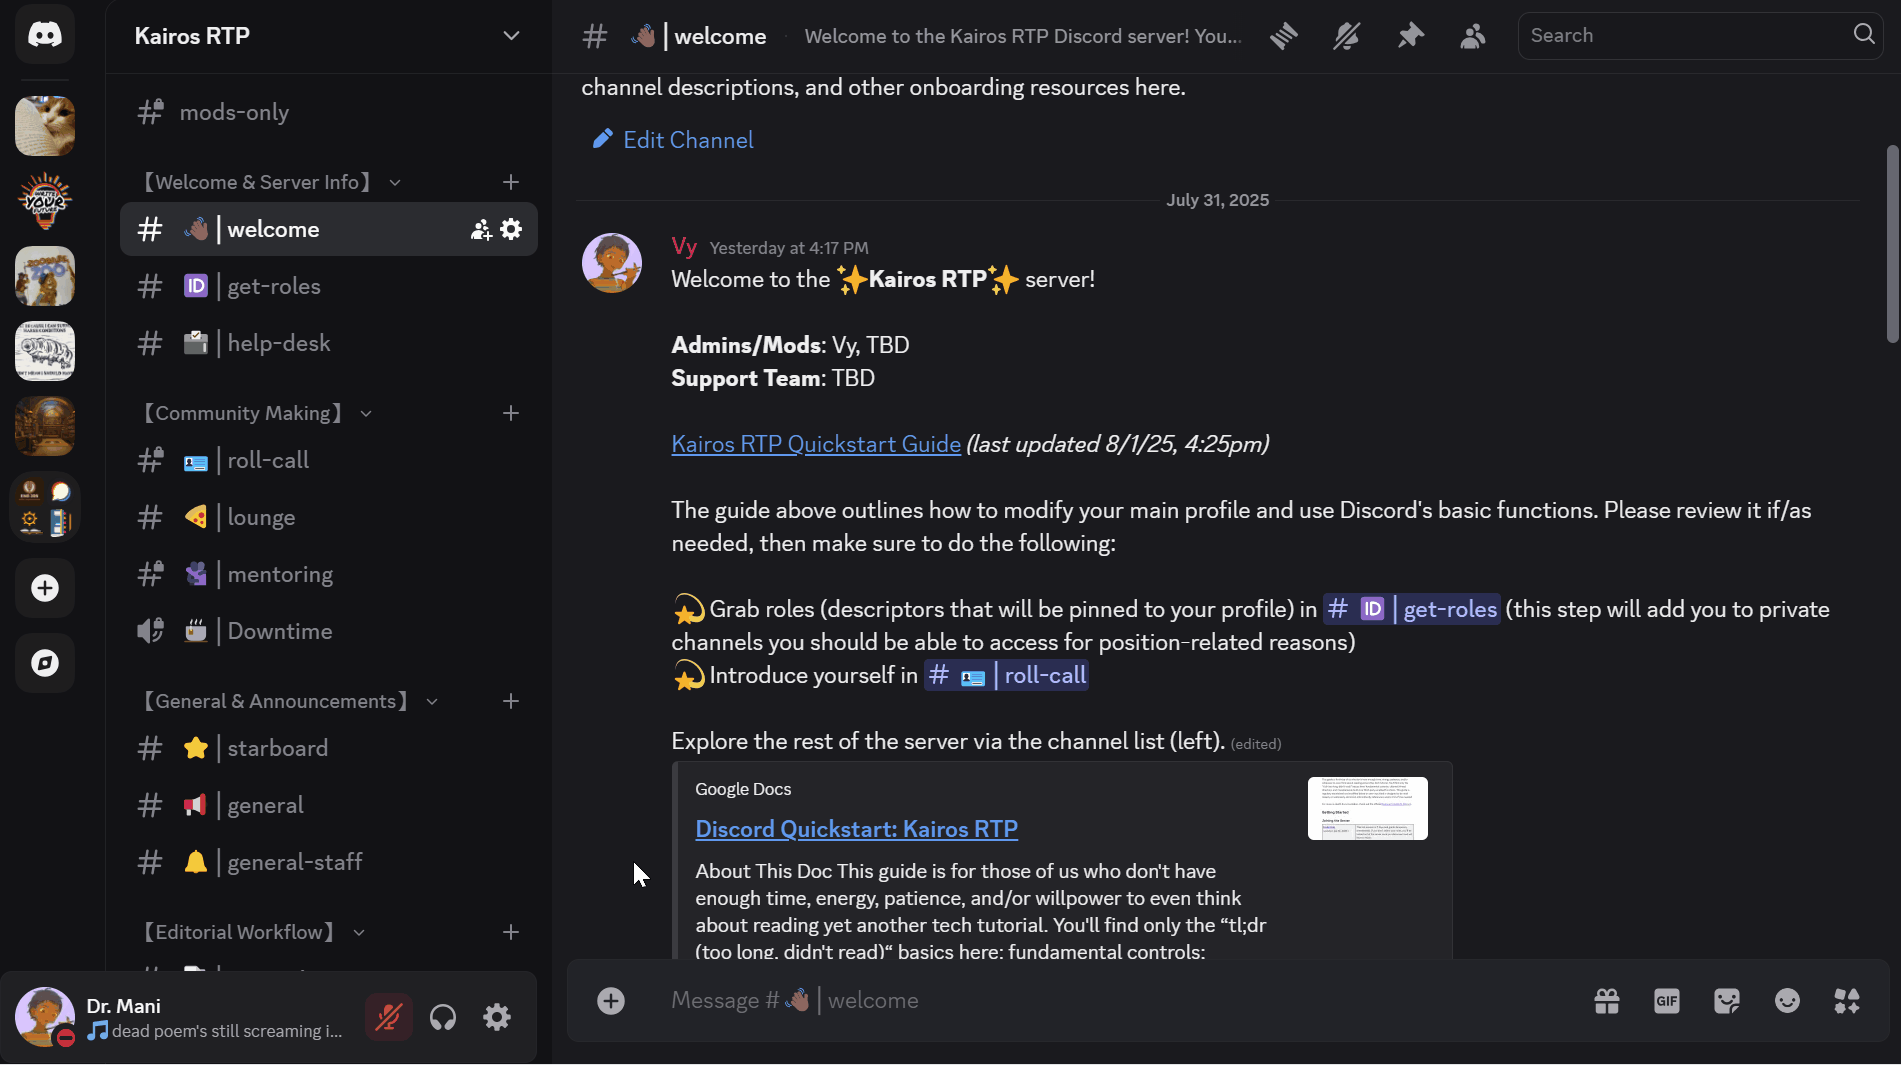
When you joined the WS 297V server, you should have landed in the #welcome channel, which contains a link to this tutorial and instructions to select your roles and introduce yourself.
Discord consists of a main view in the center (for interactions in text or voice channels), a left panel, an optional member list on the right that shows a list of current server members and their online status (which can be expanded or collapsed by clicking the 👥 icon at the top), and the Direct Messages view.
- Main View: In text channels, the chat bar is located at the bottom-center of the screen. The message box is where you type your messages (which are visible to all members of the channel). In voice channels, the main view displays the users in the voice channel and the controls
- Right Panel: In the expanded Member List view, you can click on a user’s name to read their profile (display name, username, pronouns, server roles, status, and About Me) or direct message (DM) them. Server roles are color coded; the color of the “highest” role (staff position) is the color of the member’s display name in the list
- Direct Messages: DMs are only visible to you and the recipient. You can send DMs by clicking a user’s name in the expanded Member List, or by clicking the upper-left Discord icon, which will open up your DM history. You can also start a one-on-one call through DMs. In your DM history, click the name of the user you want to call, then click the phone 📞 or video 📹 icon in the upper right to start a voice or video chat
Category and Channel Directory
The left panel contains category headings and channels. Clicking a channel in the left panel will highlight it and open the channel’s content in the main view in the center of the screen.
- On Discord’s channel list, categories appear in 【brackets】, channels beginning with # are text-only (i.e., text- and image-based chat), and channels beginning with 🔊 are voice-only (with the option for text chat within the voice channel)
- You can click category names to minimize or expand each category
- Private channels aren’t visible in Discord’s channel list to anyone who doesn’t have permission to access them (but are listed below and designated with 🔒)
Welcome & Server Info
- #welcome: Welcome to the WS 297V Discord server! You can find basic instructions, channel descriptions, and other onboarding resources.
- #get-roles: Choose the descriptors that fit you best by selecting the appropriate emoji listed below each of the messages in this channel; this will automatically add them to your public server profile.
- #its-help: To automate questions unrelated to course content, this channel is for all your tech support issues regarding Discord, this website, and/or Classes. 💛 Fill out the ticket form to automatically open a private ticket that will flag me to help you out!
Community Making
- #roll-call: Introduce yourself using the pseudonym that will be your alias in this course! Tell us: What’s your alias? Why did you choose it? And what’s one fact or quote that lives rent-free in your brain? (Note: If you don’t choose a pseudonym by the end of Week 1, I’ll DM you one that I’ve randomly generated and will change your server nickname accordingly.)
- #lounge: 💜 “Anyone Up” Hangouts 💜 “Force Parties”/Work Accountabili-Buddies 💜 Reading, Music, TV/Film, Game Recs 💜 Etc. 💜
- 🔊 Cafe: Voice channel for for coffee chats with me, voice/video work with classmates, and/or socializing.
Class Is in Session
- #starboard: Posts deemed important by the community appear in this channel. If you encounter (or write) an important post in another channel, react to it with a ⭐ to cross-post it here.
- #classroom: A channel for class activities and low-stakes writing 💛
- 🔊 Sync Sessions: Voice channel for sync class sessions.
- #team1🔒: Team 1’s private stomping ground for group activities in and out of class and for helping each other out during the semester!
- #team2🔒: Team 2’s private stomping ground for group activities in and out of class and for helping each other out during the semester!
- #team3🔒: Team 3’s private stomping ground for group activities in and out of class and for helping each other out during the semester!
Using Discord
You can interact on our server via text, voice, and video. For in-depth documentation about General Navigation, Main Functions, Message Navigation, Server and Channel Navigation, Accessibility Navigation, Text Formatting, as well as Custom Keybinds, refer to Discord’s Commands, Shortcuts, and Navigation Guide.
Text Channels
Text channels are indicated by the # symbol in the channel list. Clicking a text channel in the left-hand channel list will open its content in the main view, showing the chat bar and any existing messages. You can interact with existing messages in the text channel by adding a reaction, creating a thread, and/or replying directly to a message.
Text messages are persistent. You can search for old messages by using the upper-right search bar.
How to use text channels, including sending messages and options for interacting with messages.
For in-depth documentation about text channels, refer to Discord’s Text Channels and Text Chat in Voice Channels.
- Sending Messages: To send a message to the text channel, enter your message in the message box and hit Enter. Messages are limited to 2000 characters; longer messages will be converted into a text file.
- Edit Your Messages: You can edit a message you already sent by hovering over it and clicking the ✏️ icon.
- Attaching Files: You can attach files by clicking the + icon on the left side of the chat bar.
- Emoji Reactions: You can post emojis or react to existing messages with emojis by clicking the emoji picker icon on the right side of the chat bar. To see who reacted with which emojis on a particular message, right-click the message and click View Reactions. GIFs/Stickers: You can search for and post animated GIFs and stickers by clicking those icons on the right side of the chat bar.
- Hover Menu: Hovering over a message opens an abbreviated menu of frequently used emoji reactions, the ✏️ icon (on messages you sent), and the More ⋯ icon. Press Shift while hovering over a message to expand the message reaction menu.
- Reply: To reply to a message, right-click it and select Reply in the menu that appears.
- Linking to Messages: To link to an existing message, right-click it and select Copy Message Link, then paste it into your own message.
- Pin a Message: In channels where you have permission to pin messages, right-click the message you want to pin and click Pin Message. (You can find pinned messages in a specific text channel by navigating to that channel and clicking the 📌 icon at the top of the screen.)
If you react to a message with ⭐, the message will be cross-posted to #starboard, along with a link to the original message.
Threads
Threads (of 3+ messages) organize conversations into dedicated spaces within a single channel. For in-depth documentation, refer to Discord’s Thread FAQs.
- Discover Threads: To view or discover threads in a channel, you can click the Threads Discovery 🧵 icon at the top of the channel, which will open a submenu containing a directory of threads for that channel
- Creating Threads: Hover over an existing post you’d like to turn into a thread. Click the More ⋯ icon, then Create Thread. Title the Thread. Once you send your message, the thread will be created
- Closing/Opening Threads: Threads will close — become hidden from view — after about 3-7 days to declutter the channel sidebar. Closing a thread doesn’t delete it. You can manually close a thread by clicking the More ⋯ icon at the top of the thread, then Close Thread. To reopen a closed thread, you can send a message in the thread, or click the More ⋯ icon and then Open Thread. This will make the thread reappear in the threads tab in the channel sidebar
- Join/Leave Thread: To join an active thread, click the thread you want to join and send a message in it, or click the More ⋯ icon and then Join Thread. To leave a thread, click the the More ⋯ icon and then Leave Thread
Voice Messages (Mobile)
In text channels where you can send messages, you also send voice messages, a mobile-only function. To send a voice message, use the mobile app, open the text channel where you want to send your message, and press and hold the microphone 🎙️ icon to the right of the chat box, and record your message. Release the 🎙️ to send the message.
Voice Channels
For in-depth documentation, refer to Discord’s Voice Channel FAQs.
How to join, open, and engage with voice channels.
- Join Voice Chat (without view): By clicking a voice channel once, you’ll join voice chat while retaining text channels in the main view, allowing you to listen, speak, and navigate text channels simultaneously
- Join Voice Chat (with view): By clicking a voice channel twice, you’ll highlight the channel and open the video feed in the main view, which includes a grid of participants and a control bar that appears on hover at the bottom of the screen
Text Chat in Voice
Voice channels also support in-channel texting. Hover over the voice channel (or right-click it) and click the Open Chat 💬 icon that appears to the right of the voice channel name. This will automatically open the text chat for that voice channel. Alternatively, click the voice channel twice to fully open it and click the Open Chat 💬 icon in the top right corner.
The control bar at the bottom of the main view contains: Mute/Unmute 🎙️ icon, Camera On/Off 🎥 icon, 📲 Share Screen, and the More ⋯ icon, which contains controls for Grid View, Show My Own Camera, Show Non-Video Participants, Show New Message Previews, and Voice and Video Settings ⚙️. At the end of the control bar is the Disconnect icon 📞.
Whether you enter a voice channel or pull it up in the main view, a panel will appear just above your username in the lower-left corner, containing the same controls along with Deafen 🎧 (which allows you to mute yourself and block incoming audio, including voice chat, server notifications, and DM alerts). You can access voice channel controls here when you don’t have it open in the main view.
Formatting and Text Commands
A list of keyboard shortcuts is on the Discord app under Keybinds in User Settings (and a “cheat sheet” has been posted to #welcome).
Ctrl + / or Cmd + /: List of shortcuts Discord Help Website: Ctrl/Cmd + Shift + H
Navigation
- Navigate Between Channels:
Alt + Arrow Up /Arrow Down - Navigate Between Unread Channels -
Alt + Shift + Arrow Up/Arrow Down - Mark Channel as Read -
Esc - Mark Server Read -
Shift + Esc - Mark Message Unread -
Shift + U - Fully Exit:
Ctrl/Cmd + Alt + F4 - Toggle Pins Popout:
Ctrl/Cmd + P - Upload a File:
Control + Shift + U - Select Channel -
Ctrl/Cmd + K - Jump to Oldest Unread Message -
Shift + Pg Up - Answer Incoming Call -
Ctrl/Cmd + Enter - Decline Incoming Call -
Esc - Focus Text Area -
Tab - Return to Connected Audio Channel -
Alt + Arrow Left - Return to Previous Text Channel -
Alt + Arrow Left - Toggle Mute -
Ctrl/Cmd + Shift + M - Toggle Deafen -
Ctrl/Cmd + Shift + D
Pinging Users
- Ping a specific user:
@ + username - Ping all online/offline channel members (not all channels have this feature enabled to reduce noise):
@ + everyone
Formatting and Accessibility
- Line Breaks:
Shift + Enterto make line breaks without sending your message prematurely - Bold:
**bold** - Italics:
*italics* - Underline:
__underline__ - Strikethrough:
~~strikethrough~~ - Masked Links:
[Text](URL)to make text a clickable link instead of a pasted URL - Block Quotes:
>at the beginning of quote - Spoiler Text:
||Text||or highlight text and click the 👁️ icon to write blacked-out, click-to-reveal text (for triggering content/spoilers) - Bulleted List:
- bulletfor bullet points; to indent a nested bullet, hitShift + Enterto make a new line and add a space in front of the hyphen,- nested - Space Between Messages:
** **thenShift + Enterat the beginning or end of a message to increase spacing between posts - Monospaced Font: Type two backticks ` around text for monospaced font/code blocks
- Alt Text: Alt text must be added manually. Click the 🖊️ icon (“Modify Attachment”) on the preview thumbnail after uploading the image (this must be done at the time of upload).
Troubleshooting
If you encounter installer errors, the following steps might help (Windows instructions here; MacOS instructions here).
First, make sure that your computer is fully updated and that your operating system and drivers are current and that Discord is fully updated as well. You may need to allow the app through your antivirus or firewall protection as well (check Microsoft or Apple support as needed). Check that you granted Discord permission to use your microphone and camera (if you’re using the app) or to your browser (if you’re using the web version).
If you have difficulty using voice channels, you can try turning off acceleration: navigate to User Settings (the gear icon next to your name), then click Voice & Video and turn off both OpenH264 Video Codec and H.264 Hardware Acceleration; then scroll down in the left-hand pane, click Advanced, and turn off Hardware Acceleration. You can also download the app on your mobile phone, where voice and video might run more seamlessly.
For more in-depth documentation, refer to Discord’s Support page.